Loaded Baked Potato Soup with Bacon by Jessica Gavin

Sharing the dinner that I will be making for Quentin and I this evening to get back on track with my Monday Meals. Since today is the first day of Fall (and it actually feels like it!) I couldn’t help but go with a soup recipe.

Baked potato soup is one of my favorites and I’m excited to try out a new recipe. This one in particular is my Jessica Gavin and uses greek yogurt instead of sour cream. This adds a little bit of extra protein to the soup while still including the sour cream flavor. Enjoy!

Screen Shot 2019-09-23 at 3.26.04 PMScreen Shot 2019-09-23 at 3.26.17 PM


Tomato Basil Soup

  • 4 large heirloom tomatoes
  • 1 can of diced tomatoes
  • 1/2 of a red onion
  • 3 cloves of garlic
  • 10 basil leaves
  • 4 teaspoons salt
  • 4 tablespoons butter
  • 1/2 cup whole milk or half and half
  • 1/2 cup chicken stock
  • Crushed red pepper to taste
  • Black pepper to taste

Preheat oven to 425 degrees. Roughly chop tomatoes and 1/2 onion and place on a baking sheet. Sprinkle with salt and pepper. Roast heirloom tomatoes on a baking sheet for 25 minutes.

Remove tomatoes and 1/2 onion and let cool for 10-15 minutes. When they have cooled, place them into a food processor with additional salt, garlic and basil. Puree.

Preheat a large stock pot to medium heat. Melt 4 tablespoons butter in bottom of pot. Add tomato/garlic/basil puree to melted butter. Stir.

Add in 1/2 cup whole milk OR half and half and 1/2 cup of chicken stock. Add red and black pepper to taste.

Top with croutons and Parmesan cheese.

8

Tortellini Soup

This is one of the easiest meals in my recipe box. It’s a classic that was passed down from my Nana to my mom and now to me. It is also the meal that put my mom into labor with me. No wonder I love it so much 🙂

Ingredients

  • 1 lb of Italian sausage
  • 1 medium onion, chopped
  • 2 cans of diced tomatoes
  • 2 cans water
  • 1 12 oz package of cheese tortellini

Directions

  1. In the bottom of a large stock pot, brown Italian sausage on medium heat
  2. Remove the browned sausage and drain on a plate covered with a paper towel
  3. Add chopped onion to the stock pot and sweat until translucent
  4. Once the onions are cooked down, add the sausage back to the pot
  5. Add two cans of diced tomatoes and two cans of water, simmer for 3 minutes
  6. Finally, add in cheese tortellini and simmer until the noodles float to the top
  7. Add salt and pepper to taste
  8. Enjoy!

8

Perfect “Flour-y” Chocolate Chip Cookies

I’m not a huge sweets fan, but I absolutely love to bake. I think its the joy that it brings people when you give them a huge plate of chocolate chips cookies or a big slice of pumpkin cake.

Chocolate chip cookies are one of my all time favorite treats to make. They’re the perfect balance of salty and sweet. This recipe includes extra flour because I like very puffy cookies.

Ingredients

  • 7 table spoons unsalted butter
  • 3/4 cup white sugar
  • 1 tablespoon packed brown sugar
  • 1 teaspoon vanilla
  • 1 egg
  • 1 1/4 cup all purpose flour (plus a few tablespoons)
  • 1/2 teaspoon salt
  • 1/2 cup (or more) semisweet chocolate chips
  • 1/2 cup (or more) chocolate chunks

Directions

  1. Preheat the oven to 350 degrees. Microwave the butter for about 40 seconds to just barely melt it. It shouldn’t be hot – but it should be almost entirely in liquid form.
  2. Using a stand mixer or electric beaters, beat the butter with the sugars until creamy. Add the vanilla and the egg; beat on low speed until just incorporated – 10-15 seconds or so (if you beat the egg for too long, the cookies will be stiff).
  3. Add the flour, baking soda, and salt. Mix until crumbles form. Use your hands to press the crumbles together into a dough. It should form one large ball that is easy to handle (right at the stage between “wet” dough and “dry” dough). Add the chocolate chips and incorporate with your hands.
  4. Roll the dough into 12 large balls (or 9 for HUGELY awesome cookies) and place on a cookie sheet. Bake for 9-11 minutes until the cookies look puffy and dry and just barely golden.Warning, friends: DO NOT OVERBAKE. This advice is probably written on every cookie recipe everywhere, but this is essential for keeping the cookies soft. Take them out even if they look like they’re not done yet (see picture in the post). They’ll be pale and puffy.
  5. Let them cool on the pan for a good 30 minutes or so (I mean, okay, eat four or five but then let the rest of them cool). They will sink down and turn into these dense, buttery, soft cookies that are the best in all the land. These should stay soft for many days if kept in an airtight container. I also like to freeze them.

Recipe Source

IMG_9442
*To modify for fall, add 1/4 cup of pumpkin puree and 2 extra tablespoons of flour.

8

Spicy Thai Coconut Soup

I’m posting my Monday meal just a little bit late this week.

This soup is so perfect for the chilly fall temperatures we’ve been having. It warms you right up. My favorite thing about this soup is that it is not heavy. You can eat three servings and not feel too full. This is probably due to ingredients like ginger and coconut milk.

Ingredients

  • 2 teaspoons canola oil
  • 1 cup sliced mushrooms
  • 1/2 cup chopped red bell pepper
  • 4 teaspoons minced peeled fresh ginger
  • 3 garlic cloves, minced
  • 2 teaspoons sambal oelek (ground fresh chile paste)
  • 3 cups low sodium chicken stock
  • 1 1/4 cups light coconut milk
  • 4 teaspoons fish sauce
  • 1 tablespoon granulated sugar
  • 2 tablespoons lime juice
  • 2 cups shredded cooked chicken breast (about 8 ounces)
  • 2 green onions, sliced
  • 3 tablespoons chopped fresh cilantro

Directions

Heat a Dutch oven over medium heat. Add oil to pot. Add mushrooms, pepper, ginger, and garlic. Saute for 3 minutes, stirring occasionally. Add chile paste and cook for another minute.

Add chicken stock, coconut milk, fish sauce, sugar, and lime juice. Bring to a boil; reduce heat to low and simmer for 10 minutes. Add chicken to pot and cook 1 minute, or until heated through. Pour soup into bowls and garnish with green onion and cilantro.

Recipe Source

This recipe of courtesy of Tessa from Handle the Heat. I hope you enjoy!

thaicoconutchickensoup

Image Source

8

Chicken Parm

I’m going to try to start sharing a few of my recipes on here. I love the idea of starting my week off with a great, home cooked meal. I have always loved to cook and it really is a creative outlet for me. It’s also the perfect way for me to de-stress after a day of work.

Tonight I made chicken parm. There is nothing better than cooking a simple meal with ingredients you already have in your pantry.

I used my cast-iron skillet for this recipe. This most important tip I can give you about cooking with a cast-iron skillet, is that you always want to properly heat your pan. I set my skillet over medium heat for 5-10 minutes before I’m ready to start cooking. Once the pan is nice and hot, you can then add your oil.

Next, I crushed up the bread to use for the coating on the chicken breast. I mixed the bread crumbs with a little bit of Italian seasoning and parmesan. I wish I knew moe specifically how much of each but I never measure anything!

When I have chicken breast, I like to slice them in half or butterfly them so that they cook a little bit faster.

I made an easy egg and milk mixture and added a little bit of salt and cayenne pepper. We like spicy food in our house. I dipped each piece of chicken in this liquid and then moved them to the bowl of breadcrumbs. Once the chicken was nice and coated, I added some olive oil to my cast-iron began searing the chicken.

IMG_9269

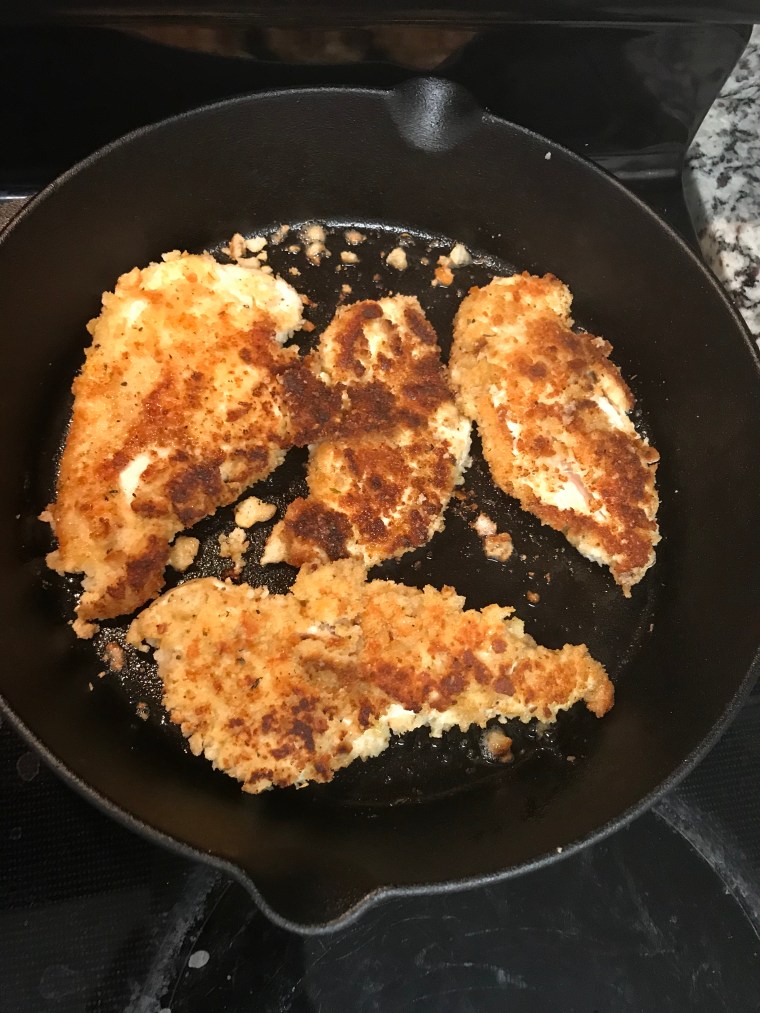
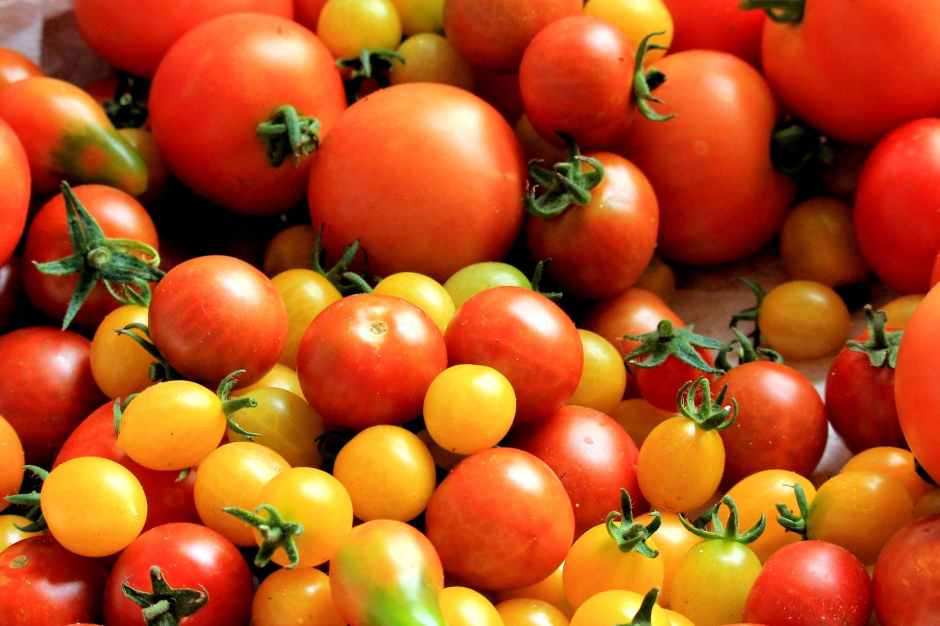
In order to cook all the way through, the chicken needed about three minutes on each side. When I could tell that it was done, I moved the chicken to a plate to rest while I cooked down some cherry tomatoes. I dumped about 10 small tomatoes into my cast-iron and let them blister on medium heat for about 7 minutes.

IMG_E9271

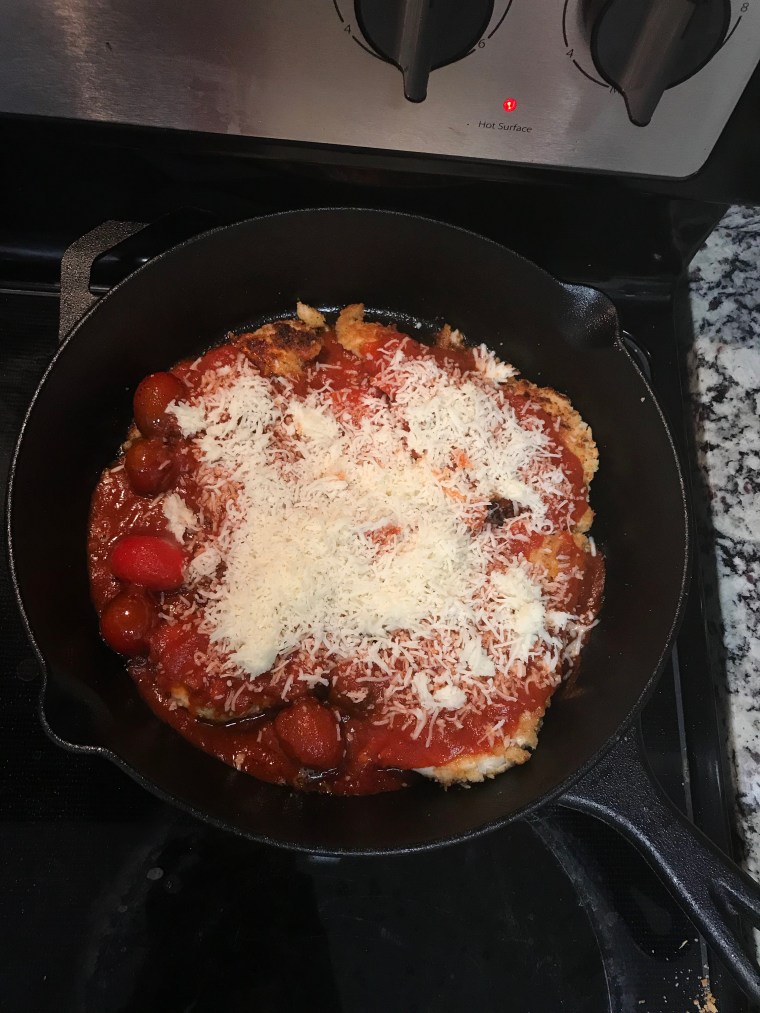
I then added the chicken back into the pan along with half a jar of store bought pasta sauce. While these ingredients got to know each other, I set my broiler.

Finally, I topped everything with some mozzarella and another sprinkle of parmesan and transferred the whole thing to the broiler for about 8 minutes.

IMG_9272IMG_E9275

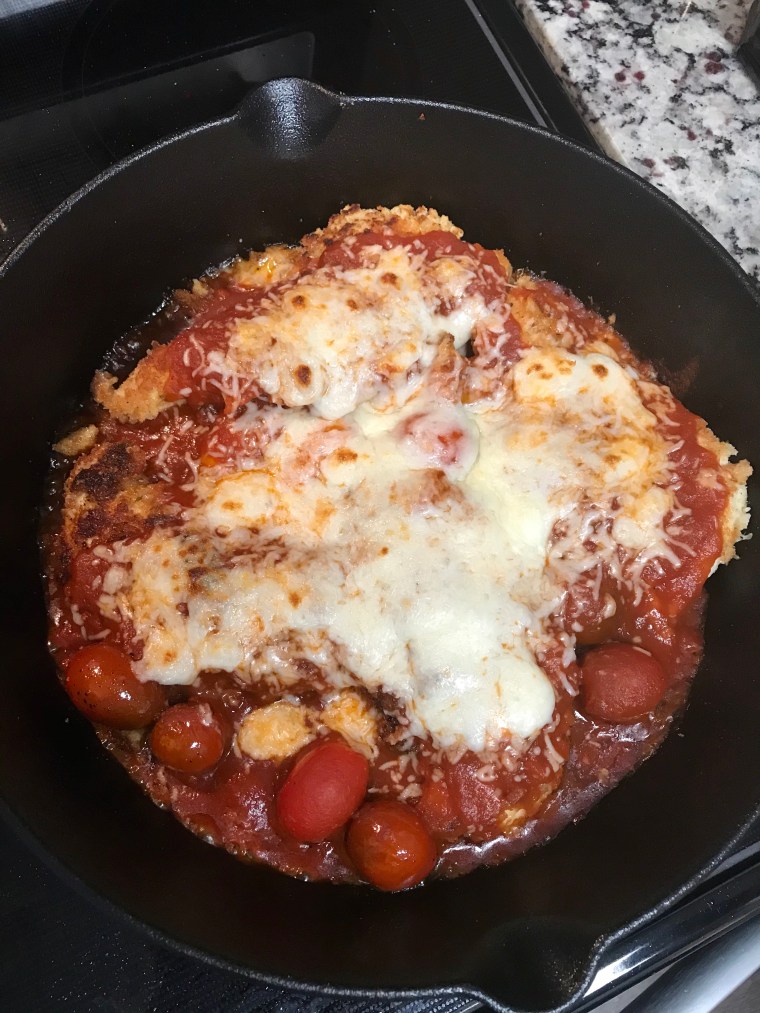
In my opinion, the finished results were not only delicious but also very pretty. You know what they say! Our phones always eat first.

Below you can find a list of ingredients and simplified instructions. Enjoy!

Ingredients

  • 2 chicken breasts, butterflied
  • 1 cup Italian bread crumbs
  • 2 eggs
  • 1/4 cup milk
  • Fresh tomatoes
  • 1 can of pasta sauce
  • 1/4 cup mozzarella cheese
  • 1/4 cup parmesan cheese
  • Pasta

Directions

  1. Preheat skillet on medium heat for 5-10 minutes (cast-iron is best because you can transfer directly from the stove to the broiler)
  2. Mix together two eggs and 1/4 cup of milk in a medium bowl, add seasonings to taste
  3. In another bowl, add Italian bread crumbs
  4. Dip each piece of chicken into the egg/milk mixture and then into the bread crumbs, making sure that the chicken is evenly coated
  5. Add 2 tablespoons of olive oil to the skillet
  6. Add chicken to the pan and cook for three minutes on each side
  7. Transfer chicken to a plate to rest
  8. Add fresh tomatoes to the skillet and cook until the skin is beginning to blister
  9. Add chicken back to the skillet along with half of the jar of pasta sauce
  10. Turn on broiler
  11. Top with mozzarella and parmesan and transfer the entire skillet to the broiler for 6-8 minutes. The cheese should become slightly brown.
  12. Enjoy as is or over pasta

8